


Creating a DIY gift basket is a fun and thoughtful way to give a present that feels personal and unique. Whether you’re celebrating a special occasion or simply want to show someone you care, a well-crafted gift basket is an excellent choice. With a little planning and creativity, you can curate a basket that feels tailored to the recipient’s tastes and interests. Here’s how to create a memorable DIY gift basket that will impress any recipient.
1. Choose a Theme
The first step in creating a memorable DIY gift basket is to decide on a theme. A well-thought-out theme will give your basket a cohesive and personalized touch. Think about the recipient’s hobbies, interests, or needs. Some popular themes include:
- Self-Care & Relaxation: Include items like bath bombs, scented candles, cozy socks, and face masks for a relaxing spa experience at home.
- Gourmet Delight: Curate a selection of gourmet chocolates, artisanal cheeses, fine wines, and specialty snacks for a treat-filled basket.
- Movie Night: Stock your basket with a selection of the recipient’s favorite movies, popcorn, snacks, and cozy blankets for the perfect movie night experience.
- Fitness & Wellness: Put together a basket with protein bars, a water bottle, workout gear, and a yoga mat for the fitness lover in your life.
- Seasonal Basket: A Christmas, Halloween, or Easter-themed basket filled with seasonal goodies can bring festive cheer.
2. Pick the Right Basket or Container
Once you’ve decided on a theme, choose a basket or container that fits the items you plan to include. The container will also set the tone for your gift, so consider options that match the style of the recipient. Here are some ideas:
- Traditional Basket: A woven or wire basket is a classic choice that works well for almost any theme.
- Tote Bag or Tote Box: A fabric or reusable tote can be a fun and practical alternative, especially for themed baskets like self-care or wellness.
- Wooden Crates: For a rustic feel, a wooden crate works well for any number of themes, especially when you want to create a vintage, farm-to-table vibe.
- Storage Bins or Decorative Boxes: If you want the basket to double as a storage solution, consider a storage bin or decorative box that the recipient can reuse.
3. Select the Right Items
The core of your DIY gift basket is the collection of items you choose. The more thoughtful and personalized these items are, the more memorable your gift will be. Here are some ideas to consider for different themes:
- Self-Care & Relaxation: Include items like bath salts, essential oils, candles, face masks, hand creams, and cozy slippers. Try to pick products in scents or colors the recipient loves.
- Gourmet Delight: Select a range of high-quality products, such as chocolates, artisanal coffee, gourmet nuts, wine, crackers, jams, or a cheese platter. If you’re unsure about taste preferences, choose a mix of sweet and savory options.
- Movie Night: Opt for a variety of snacks like popcorn, chocolate bars, and candy, along with a few DVDs or streaming service gift cards. Add in a soft blanket and cozy socks to complete the experience.
- Fitness & Wellness: Include items like protein shakes, fitness gear, a jump rope, essential oils, resistance bands, and a fitness tracker. Look for items that promote both health and relaxation.
- Seasonal Basket: If it’s for a holiday, include seasonally appropriate items like themed decorations, treats, or festive mugs. For a Christmas basket, you could add hot cocoa, a cozy scarf, and ornaments. For Easter, try chocolate eggs, pastel-colored treats, and bunny-shaped items.

4. Arrange the Items Creatively
Now comes the fun part—arranging the items! Start by placing the larger items at the back of the basket and arrange the smaller items in front, ensuring they’re visible. If you want the items to stay in place, you can use shredded paper or tissue paper as a base to nestle everything in place. For added flair, use decorative touches like ribbon, bows, or twine to tie things together. You can even personalize the basket by including a handwritten note or tag with a special message.
5. Add a Personal Touch
To make your DIY gift basket truly stand out, include something that adds a personal touch. If you know the recipient’s favorite colors, include items in those shades. If they have a favorite hobby or pastime, consider adding something related to that, such as a small personalized journal for a writer or knitting supplies for a crafter. Personalized touches make the gift feel thoughtful and meaningful.
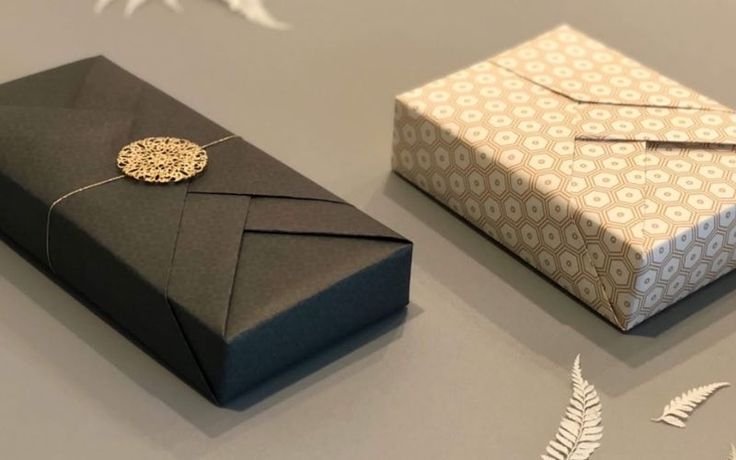
6. Wrap It Up
Once your basket is arranged to your liking, it’s time to wrap it up. Cellophane is a popular choice because it allows the recipient to see the contents while keeping everything in place. You can also use clear gift bags or fabric wraps, depending on the look you’re going for. To give your basket an extra special touch, tie it with a ribbon or decorative string. Don’t forget to add a gift tag with a personalized message to let the recipient know how much they mean to you.
7. Presentation Matters
While the contents of your basket are the most important, the presentation is what makes the gift memorable. A beautiful presentation will make the recipient feel special and show that you’ve put thought into their gift. Consider adding decorative elements like flowers, stickers, or custom tags to make the basket look even more festive. Keep in mind that the packaging is an extension of the thoughtfulness behind the gift, so don’t rush this part.
Final Thoughts
Creating a DIY gift basket is a wonderful way to show someone how much you care. By selecting a theme, choosing thoughtful items, and adding personal touches, you can create a unique and memorable gift that is sure to leave a lasting impression. Whether it’s for a holiday, birthday, or just because, a well-curated DIY basket will make any occasion feel extra special.